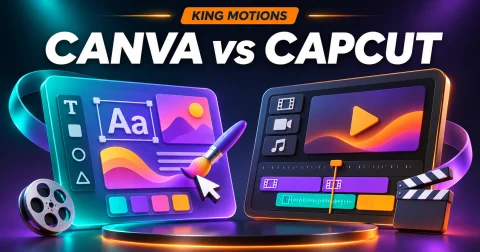
Canva Pro vs CapCut Pro is a practical choice for creators who need to stretch a monthly software budget. Start with the work you repeat most. A page full of offers, thumbnails and presentations calls for a different workflow from a day spent cutting talking-head videos.
For a small business in Pakistan, the useful question is how much time a tool saves on an actual weekly brief. This guide compares the two around that decision, with a sample project you can try before paying for overlapping subscriptions.
Which work belongs in which editor?
| Your recurring task | Start your trial in | What to check |
|---|---|---|
| Offer posts, brochures and presentation slides | Canva | Layout, reusable styles and client handover |
| Talking-head clips with detailed cuts and captions | CapCut | Timeline editing, caption corrections and export |
| A campaign containing posts and short videos | Both, using one shared brief | Whether moving assets between them costs extra time |
| Occasional simple posts or trims | The relevant free editor first | Which specific limitation requires paid access |
These are starting points for a test, not a ranking of every feature. Both products change, and available features can vary with the account, platform and subscription.
Where Canva can make a working week easier
A typical design problem is consistency. Monday's post uses one font, Wednesday's flyer uses another and the sale banner has a slightly different orange. Canva's Brand Kit brings brand elements such as logos, colours, fonts and templates into one place. Its official guide explains the available account types and how teams use those assets. Read Canva's Brand Kit guide.
For your own trial, create three items from one brief: a square offer post, a vertical story and a simple price sheet. Use the same product photo and brand colours. Then change the offer once and measure how many separate edits you need. This makes the benefit of a reusable design system tangible.
Background cleanup may also matter for product photos. Canva documents its image and video background-removal tools separately, so check the actual tool available in your editor rather than assuming every AI feature does the same job. See Canva's background-removal help.
Where CapCut deserves a closer look
If the weekly brief starts with recorded footage, test the video workflow first. Import a short spoken clip, remove a long pause, add captions and make one revision after watching it on a phone. CapCut's official help describes generating captions and then editing their text, timing and style. That correction stage matters more than how quickly the first transcript appears. See CapCut's caption workflow.
Use a clip that resembles your real work. A clean English demo will not tell you much about a shop video containing Urdu, English product names and background traffic. Listen to the final audio while reading the captions. Record how much manual editing the clip needs.
Our separate CapCut caption-editing guide gives you a review checklist for names, timing and exports.
Try this small-business campaign before subscribing
Imagine a clothing shop needs a weekend sale campaign: one price graphic, one story, a 20-second product video and a cover image. Keep the product name, price and call to action in a shared note.
- Build the price graphic and cover in the design editor you are considering.
- Edit the product video in the video editor you are considering.
- Change the offer price and deadline, as a real client might.
- Check how long the revision takes across every asset.
- Open all exports on a phone and check readability.
If most time goes into correcting the video, prioritise the video editor. If every design revision starts from scratch, prioritise reusable design assets. The better first purchase is the one that removes the bottleneck you actually have.
Check the account type and the intended use
Do not treat an Education workspace as another name for a commercial Pro subscription. Canva explains that Education users' Pro content is for educational, non-commercial purposes. Check the applicable content licence and account type before using assets in paid client work. Canva explains its licensing here.
For either tool, ask what the listed package supplies, whether it is private or shared, which devices are covered and whether the feature you need appears in that account. Do this before sending a client deadline or promising a particular export option.
Choose one first, then add the other if the work justifies it
Compare current Canva packages and CapCut Pro access against the test you completed. Keep the purchase decision attached to a task: “consistent weekly designs” or “faster editing of captioned clips.”
If the work also needs stock assets, read our Envato Elements vs Freepik comparison. If it needs narration, the Urdu voiceover workflow covers script preparation and review.
Frequently asked questions
Do I need both Canva Pro and CapCut Pro?
Only if your actual workload benefits from both. Test a complete campaign first and identify which paid feature removes a recurring limitation.
Which should a beginner buy first?
A beginner making mostly graphics should test Canva first. A beginner editing mainly spoken video should test CapCut first. Use a real project to decide whether the paid tier is necessary.
Is the lowest-priced Canva package always suitable for client work?
Check its account type and licence. An Education offer and a commercial Pro offer can have different permitted uses, even when some editing tools look similar.